eTravel Philippines: What is it and how to fill the form without getting scammed?
Mandatory for all travelers, the eTravel form (QR Code) replaces the old arrival card. Discover how to fill it out for free and avoid fraudulent websites.
eTravel Philippines: Your Digital Entry Pass
Gone are the slightly yellowish cardboard cards that we had to hastily fill out on the plane with a leaking pen. The Philippines have gone digital! Today, the eTravel is a mandatory step for immigration.
What do you need to know about this procedure? What is the purpose of this mysterious green and red QR Code, and most importantly, how to avoid being trapped by the internet? We explain everything in this detailed guide.
---
1. What is the eTravel?
The eTravel (Electronic Travel Declaration System) is a digital government platform that merged and replaced several old forms:
* The Arrival Card (Disembarkation card for immigration).
* The Customs Declaration.
* The old health system related to health history.
By filling out a single online form, your information is instantly dispatched to the Bureau of Immigration (BI) and the Bureau of Customs (BOC). At the end of the process, the system generates a QR Code that you will have to scan at kiosks when arriving in the Philippines.
---
2. When Should You Fill It Out?
The timing window is precise. You can (and must) only fill out the eTravel form within 72 hours (3 days) prior to your estimated time of arrival (ETA) in the Philippines.
If you try to do it a week before, the system will refuse to let you complete the arrival declaration process.
We advise you to fill it out quietly at home the day before your departure, or at the airport before taking your first flight. If you forget, most WiFi hotspots upon arrival (at NAIA or Cebu Mactan) will allow you to do it, at the cost of lost time in the airport.
---
3. 🚨 Beware of Scams!
This is THE most crucial point of this article: The eTravel is 100% FREE.
Hundreds of fake websites swarm on Google pretending to be the Philippine government. They have the same design, the same logos, but they will ask you to pay $30 or $50 by credit card at the very end of the form "for processing fees".
* NEVER pay for the eTravel!
* The Official Seal: The only address to fill out your form is the official government address ending in `.gov.ph`: etravel.gov.ph.
---
4. What You Need To Fill It Out
Before starting, prepare your phone and gather these items:
1. Your travel documents: Your valid passport (minimum 6 months validity).
2. Your flights: Your flight ticket to the Philippines (Airline, Flight number, arrival date and time).
3. The Return Ticket: Date and details of your onward or return ticket. This is mandatory!
4. Your Accommodation: The complete address of the hotel, residence or Airbnb for your first few days.
5. Your Financial Declaration (Customs): Beyond 10,000 USD, 50,000 PHP, or certain regulated goods, you will need to mention it.
---
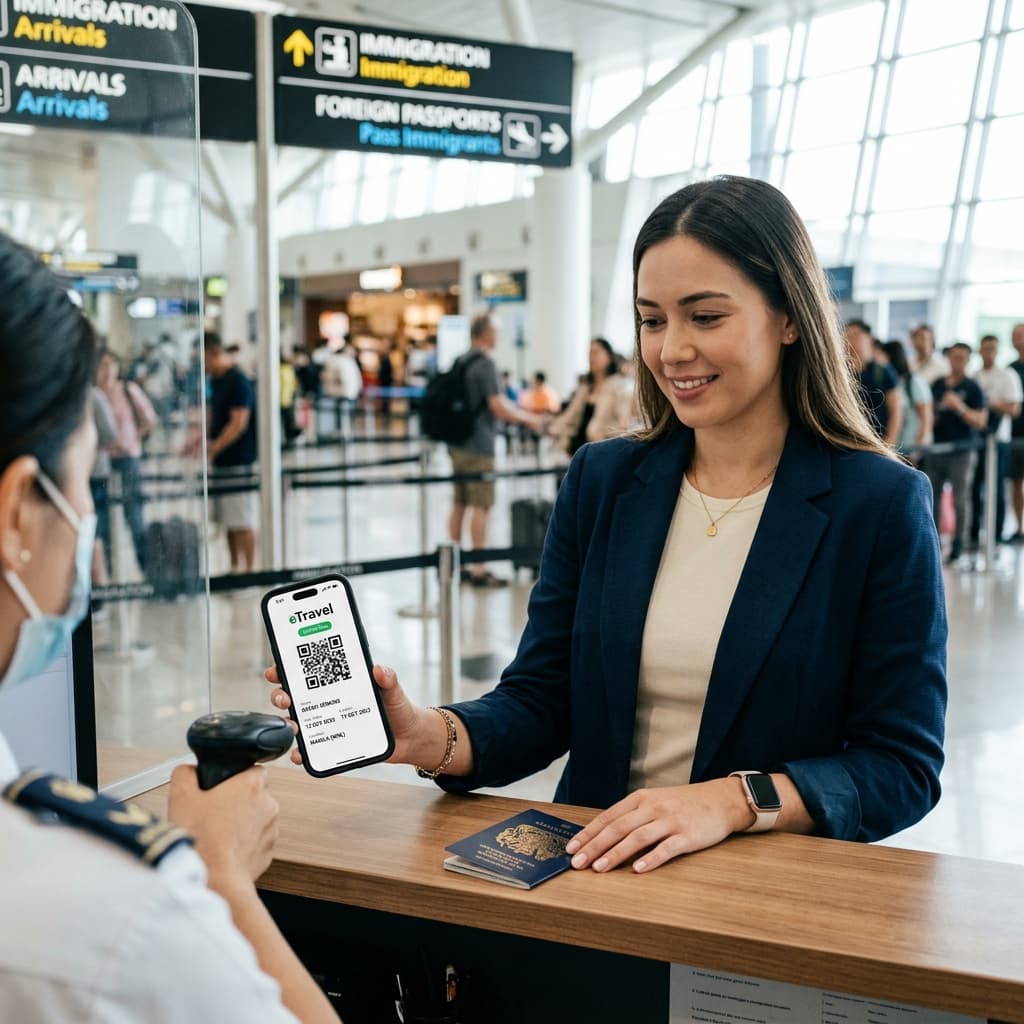
5. The Result: The Green (or Red) Code
Once all fields are filled, you will download a QR Code on your phone (take a screenshot to have it offline!).
* Green QR Code: Congratulations, everything is perfect. You have the "Express Lane", scan and pass customs in seconds.
* Red QR Code: A justification or verification (often customs or health/medical) is required. Don't panic, you will simply be directed to an agent who will ask a few additional questions.
The eTravel has modernized entry into the Philippines dramatically, reducing once endless waiting lines.
👉 The Palms & Horizons Tip: The Bureau of Immigration has become very strict. Your eTravel QR Code will often be requested at boarding in your home country by your airline (Emirates, Qatar, etc.). Just like the famous mandatory return ticket. Do not risk being denied boarding, discover our cancellable flight ticket service for €16.